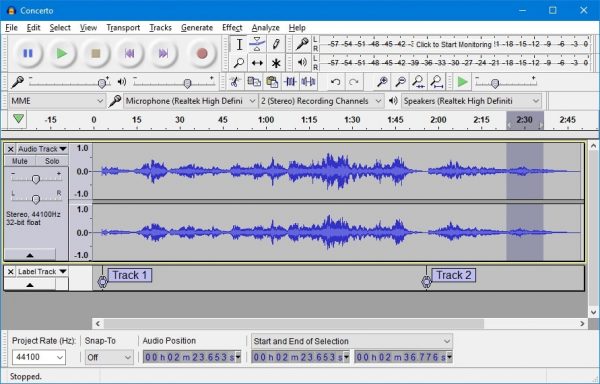
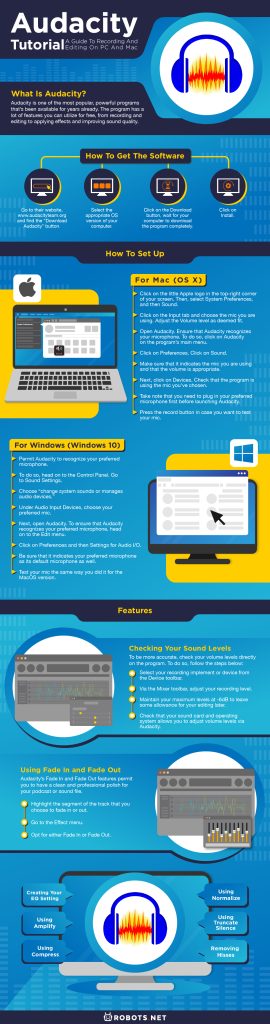
What Is Audacity?
Audacity is one of the most popular, powerful programs that’s been available for years already. What’s more, the software is free to download. It is also open-source software, and you can expect a robust community to help you learn how to use it. The program has a lot of features you can utilize for free, from recording and editing to applying effects and improving sound quality. Music and sound files do not typically get published and distributed without being edited, and Audacity may be the most accessible tool for aspiring musicians, podcasters, and vloggers. Unless you do your recording in professional studios, your sound file may contain various interferences and unnecessary noises that need to be removed before sending out its final copy. Many times, you also need to combine several music files—or, at least, several separate segments—to come up with a modified one. These are just some of the circumstances where Audacity may prove useful. If you’re enjoying this Audacity tutorial, you might want to read our Ocenaudio review.
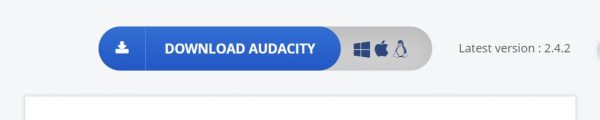
Audacity Tutorial: How to Get the Software
It is easy to get Audacity as it supports most major operating systems like Windows, macOS, and Linux.
Audacity Tutorial: How to Set Up
After successful installation, it is essential to set up Audacity on your computer. For this part of our Audacity tutorial, we’ll talk about setting up and using the features. Of course, you need to let Audacity recognize your mic. To do this, here are the steps:
For Mac (OS X)
For Windows (Windows 10)
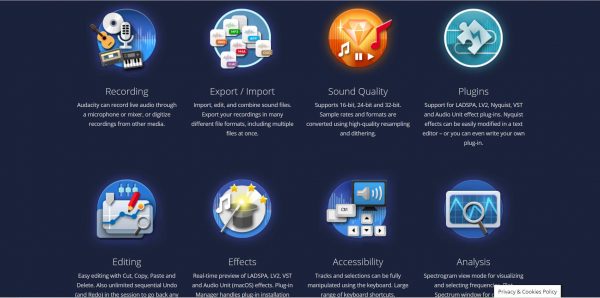
Audacity Tutorial: Features and How to Use Them
It’s time to go deeper and explore all the features you can use on Audacity.
Using Your Pop Filters
Now that you’re ready to begin your Audacity experience, it is crucial to know how to maximize Audacity’s pop filters. Doing a high-quality recording can be achievable by using the program’s pop filters. These filters improve sound quality, permitting you to eradicate—or decrease—the “pop” sounds you make, including the audible breaths you take. You can also speak on the side of your microphone to help improve your voice quality further. To use the pop filter, do the following steps:
Checking Your Sound Levels
To be more accurate, check your volume levels directly on the program. To do so, follow the steps below:
Using Fade In and Fade Out
Audacity’s Fade In and Fade Out features permit you to have a clean and professional polish for your podcast or sound file. To obtain that, do the following steps:
Using Chains for Combination Effects
Audacity permits you to use chains, as well. You can either use Batch Processing or Effects Automation. Chains permit you to expedite your workflow. Note that you can use your chain to your entire work or particular files only.
Creating Your EQ Setting
Plosives are the audible popping sounds you make when you say your letters—or words. For instance, in the phrase “Paper pencils picked by Peter,” the plosives are those “p” sounds you make. While pop filters help make your sound quality better, you can also use the help of Audacity to minimize those popping sounds. To minimize those plosives, do the following steps:
Using Amplify
One of the most popular functions of Audacity is Amplify. To use this, do the following steps: Note, however, that you shouldn’t use Amplify if you are using “DC Offset.” You shouldn’t use it either if you are using a Chain.
Using Compress
If your sound file is filled with numerous peaks and dips, the Compress function allows you to bring them closer together. Nonetheless, it would help if you were careful when using this function. A sound file can sound too flat when compression is overdone. To do so, highlight the segment you want to bring closer together. Click on Effect > Compressor.
Using Normalize
This technique maximizes your file’s gain without the need for clipping. Note that you need to use Normalize when your track is using DC Offset. You can do this with “DC Offset Correction.” Also, do not use Normalize when your multiple tracks use varied volumes. You will lose these variations if you do so. To use Normalize, highlight the segment or sound you want to modify. Click on Effect > Normalize.
Using Truncate Silence
When doing a podcast, in particular, it is best to remove the silences—especially prolonged ones—to keep it upbeat and flowing. To do so, here are the following steps:
Removing Hisses
Eradicate excessive “s” sounds by doing the following:
Audacity Tutorial: Tips for the Best Editing Experience
To quickly edit your recordings like a pro, take note of these best practices when using Audacity!
Use Keyboard Shortcuts
You can use Audacity’s keyboard shortcuts, as well, to save more time. You can use these shortcuts, especially during playback. Some of the keyboard shortcuts you may find most useful are:
Ctrl+N – to open and start a new project Ctrl+S – to save your current work progress (note that this is different from exporting your finished work; this will only save your file in .AUP format) Ctrl+Z / Ctrl+Y – to undo or redo Ctrl+C / Ctrl+Z – to copy or paste Ctrl+K – to delete the selected part of your audio Ctrl+L – to silence or mute the selected audio Ctrl+T – to trim the audio
Avoid Using MP3 Format When Editing
Although MP3 is an excellent and easily distributable format, it shouldn’t be your default editing file format. While it preserves your record’s sound quality, it doesn’t give you too much leeway for the different edits you plan to make. For better sound results, you should use Audacity’s native recording format (AIFF or WAV) and then convert it to MP3 when it’s ready for distribution.
Save a Copy of Your Original Recording
Remember that Audacity does not allow you to reverse any changes once you save them. Any accidental deletions can never be retrieved. Always make a separate copy of your original sound file before importing it to the program.
Avoid Overdoing Effects
Audacity provides you with various functions, including truncate silence, noise reduction, reverb, and compress. However, you should always use these features in moderation to obtain the best quality for your recordings.
Pros and Cons of Using Audacity
Audacity is one of the most popular sound editing programs used by many podcasters and musicians. Nevertheless, it also has its faults.
Free, open-source software Robust community, allowing you to learn the program with their help quickly Permits multi-track editing Vocal and noise reduction features Supports multiple platforms Live recording features Supports various file formats
Potentially destructive to the files (edits are directly made; you need to save a separate copy of your original file) Saved changes are irreversible Complicated and challenging to learn for many
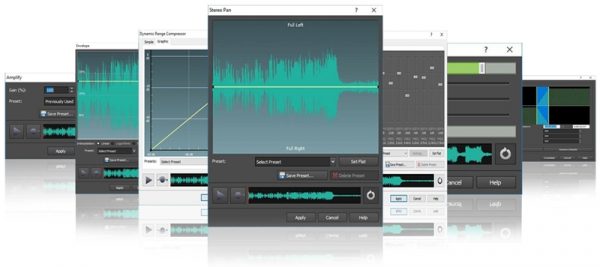
Audacity vs Competitors
Aside from Audacity, there are other sound editing programs available online. If you wish to check out these different applications and programs on the web, below is a list of the most popular choices. For this part of our Audacity tutorial, let’s take a look at its competitors and how they go up against each other.
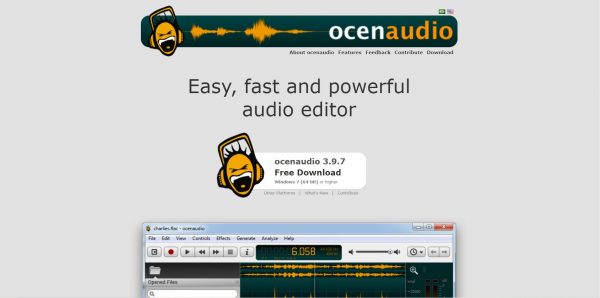
Ocenaudio
Like Audacity, Ocenaudio is freely downloadable. Unlike Audacity, however, Ocenaudio is more user-friendly. It has a beautiful, easy-to-use interface and provides users with essential sound editing functions, including a spectrogram. You can also directly record your sound files via the software. Ocenaudio allows you to use your preferred plugins since it has VSF support. However, the program typically crashes or freezes when you attempt to use multiple heavy tracks. Ocenaudio is recommended for beginners and home musicians who merely want a sound editing program that offers essential functions. Like Audacity, Ocenaudio supports Windows, Mac, and Linux.
Chrome’s Hya-Wave
If you want a more lightweight application, you can check out Google Chrome’s Hya-Wave sound editing application. Hya-Wave is convenient for sound editors who travel a lot and have no other means to edit their audio or video files. The application can be easily accessed via your browser, and so you don’t need to spend time—and computer space—installing the program. You can cut and paste your sound file into Hya-Wave’s dedicated space and do your edits there. Using Hya-Wave, you can apply various live effects and even share them with your social media handles. The application provides your file with its URL, so you can send this link to your viewers. You can even save your file to the cloud, allowing you to access it via multiple devices.
WavePad
Like Audacity, WavePad is one of the best choices for beginners. The program is easily installed and also user-friendly. WavePad provides various sound editing functions, including reverb, noise removal, speed and pitch change, compression, and audio scrubbing. It supports several file formats such as AAC, GSM, OGG, VOX, FLAC, MP4, WMA, WAV, and MP3.
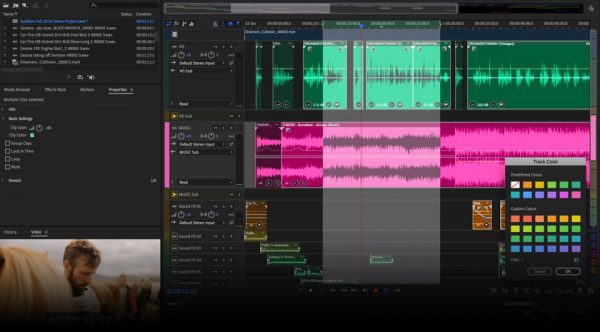
Adobe Audition
Another sound editing software like Audacity, Ocenaudio, WavePad, and Hya-Wave, Adobe Audition is considered by most as the best program available at present. Included in Adobe’s Creative Cloud, the program provides multiple sound editing functions. You can even use the expertly created tutorials to learn its uses further. Adobe Audition provides a restoration tool, enabling you to restore your file if you don’t like the edits you made. It is also customizable. However, the program is not available for free. You need to subscribe and pay an expensive fee to use it.