What Is a Capture Card?
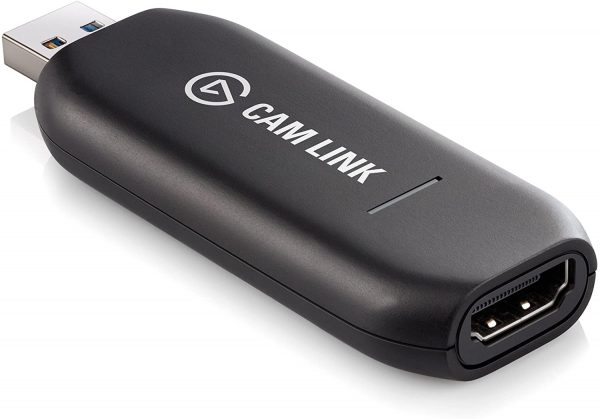
First things first, you’re going to need a capture card. Capture cards are important for setting up your DSLR webcam, especially if you want to set up a streaming PC. There are plenty of capture cards out there. Some of them are USB-connected while others are PCI-E. USB capture cards allow you to simply connect them to your device and then start capturing video immediately. This is not the case for PCI-E capture cards. Essentially, capture cards allow you to capture videos from external devices. One of the most popular capture cards out there that DSLR users love is the Elgato Cam Link. This capture card is a USB capture card that usually costs around $120.
Equipment You Will Need
To use your DSLR as a webcam, you will need a whole host of other items to complete the setup. Below is a quick list of what you will need:
DSLR Camera
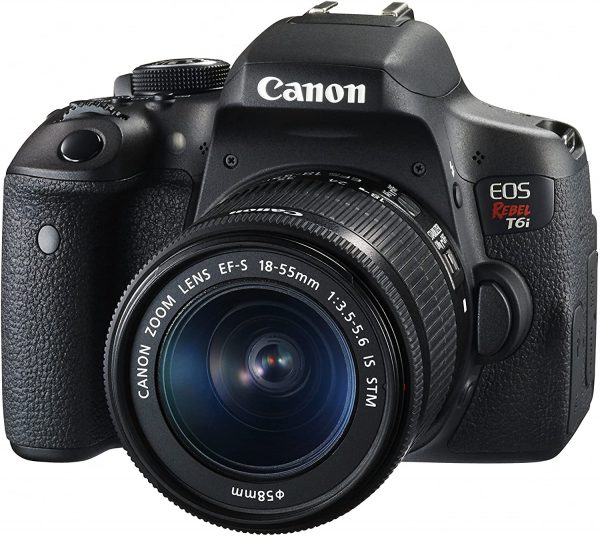
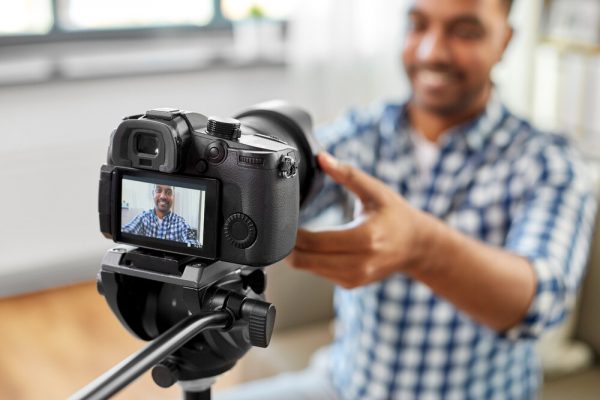
Of course, the first thing you’ll need is a DSLR camera. Among the wide selection of DSLR cameras available, few can compare to Canon’s DSLR cameras. Twitch streamers generally like to go with Canon cameras, in particular the Canon EOS Rebel T6i. This camera is excellent for streaming in HD and has some of the best, if not the best, video output that money can buy. Canon’s DSLR cameras can be expensive, often costing upwards of $500. However, this is the price you will have to pay to ensure the quality of your stream.
Large Aperture Lens
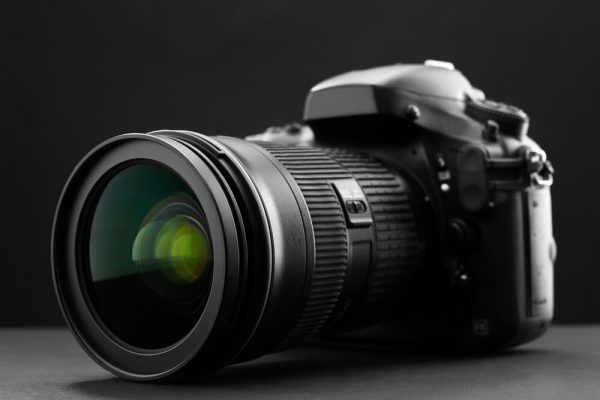
As you’ll pretty much be immobile during Twitch streamsTwitch streams, it’s a good idea to set up your camera with a good quality lens. You could even try looking for a prime lens, which can’t zoom but can provide the best image quality.
AC Adapter
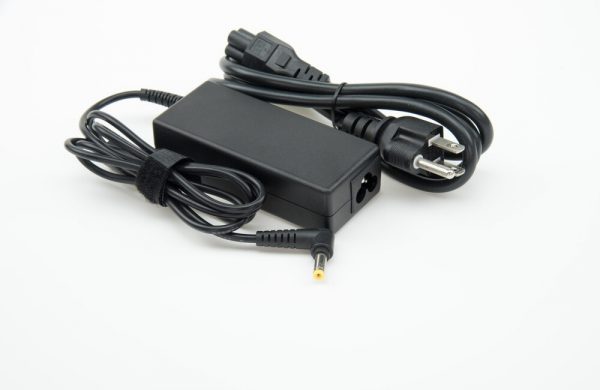
When you’re streaming on Twitch or are in a Zoom call, you will most likely be preoccupied and not notice that your camera is running out of battery. For this reason, you should invest in an AC adapter. What an AC adapter does is plug the camera into your computer, acting as the power source instead of the DSLR’s battery. They are essentially external power supplies for your camera. AC adapters usually look like they have a tiny battery pack next to the plug. Think of AC adapters as something like a laptop charger, but for your DSLR camera.
Digital Cable Adapter
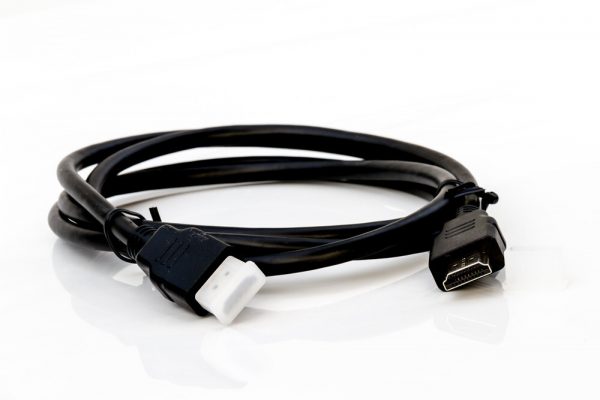
Cameras like the Canon EOS Rebel T6i do have a USB cable to connect them directly to the computer. However, depending on what DSLR camera you get, you might need a digital cable adapter. Digital cable adapters connect your camera to your computer, allowing your computer to register and recognize it. Digital cable adapters are also needed for people who use newer Mac computers since they no longer come with standard USB ports.
Tripod
To position your camera at a decent angle, you need to get a tripod, and preferably one that has adjustable elevation levels. This is good for adjusting the height whenever you need to. But if you’re on a budget, you can also get one with a set elevation level. You should position your camera somewhere at eye level to ensure that your footage is filmed stably.
What Should You Look for in a DSLR Camera?
Selecting a good DSLR camera can be difficult. Most Canon DSLR cameras are excellent, but in general, you should look for a good camera with the following qualities: First of all, your DSLR camera needs to have an HDMI output port. This HDMI output port has to be clean, meaning it shouldn’t place any overlays or camera UI. This way, the feed from your camera will be crisp and clear. Next, your camera should have room for an AC adapter to ensure that it can operate without running out of battery. Some cameras are incompatible with AC adapters, so you should ensure that yours is. In addition to this, you need to make sure that the camera isn’t prone to overheating.
What Software Will You Need?
Equipment isn’t the only thing that you need. There’s a lot of software you’ll need in order to output your feed as well. While you’ll need most of these to use your DSLR as your webcam, some of them are optional.
Camera Utility Software
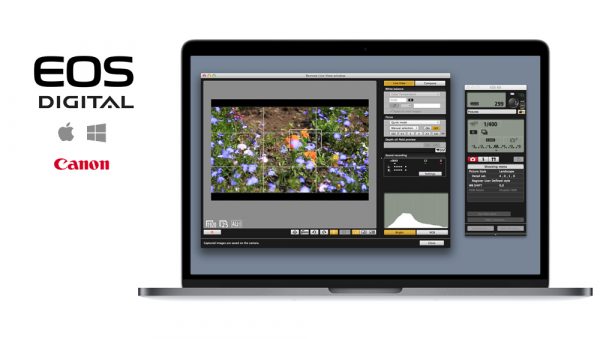
Most DSLR cameras will have software built specifically for them. This software makes it easier to connect the camera to your computer. Such software also makes it easier to configure your camera as well. Some cameras might have their software pre-installed, which can be accessed immediately when you connect them to your computer. However, there are cameras that you need to separately download software for. Canon has its own software that you can download on its website. Download Now!
EOS Webcam Utility
The EOS Webcam Utility tool is not necessarily needed but it allows you to use your DSLR as a camera for other applications. However, this software is specifically for Canon cameras and usually does not work with other DSLR cameras. By connecting your camera to your computer and activating this software, your computer will be able to recognize your camera. It does come with some drawbacks, such as only supporting Windows 10 computers and being usable on just one app at a time. Download Now!
Camera Live
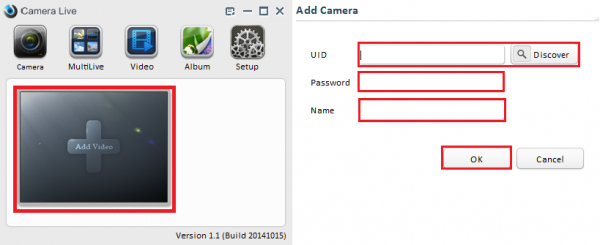
Camera Live will make your DSLR camera register as a webcam on your computer. It’s a useful app, but it’s only for Mac users. If you happen to use a Mac instead of a Windows computer, then Camera Live is a good alternative for EOS Webcam Utility. This app provides output using a Syphon server, and shouldn’t be mistaken for a camera driver. Camera Live is available for download on GitHub. To use Camera Live, you need to connect your camera via USB. If you use HDMI instead, Camera Live will not register it. Download on Github Now!
OBS Studio
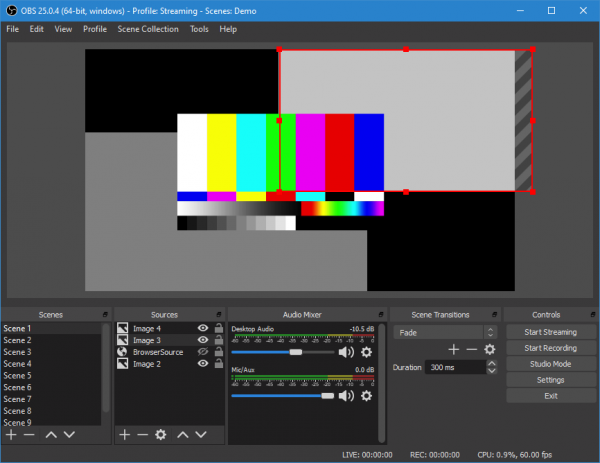
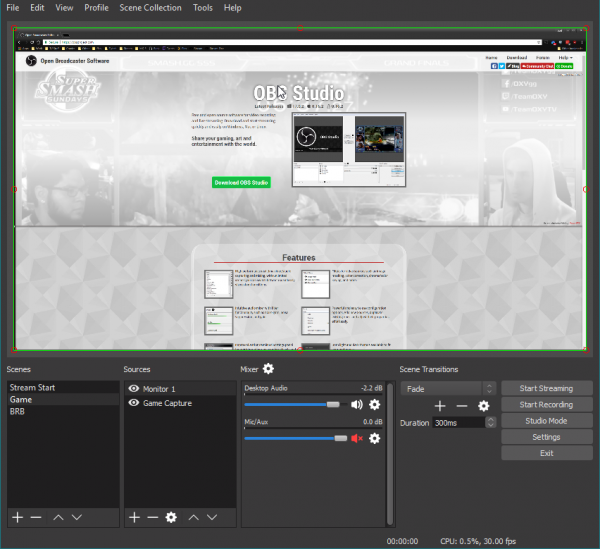
OBS Studio is a free and open-source recording platform. With it, you can record and stream videos. You don’t necessarily need OBS Studio when you use DSLR as a webcam on apps such as Zoom or Google Meet, but it’s great for streaming. Using OBS Studio gives you the ability to stream not only games but your webcam as well. Included with this recording software are device capture, scene composition, encoding, and broadcasting. OBS Studio is an all-in-one recording platform. Even when you’re not streaming on Twitch, OBS is useful whenever you want to record videos for class or YouTube. Arguably the only downside to OBS is that it’s not beginner-friendly, so you need to learn how to use it. There are plenty of guides available to teach you how to use this software. Download Now!
OBS Live
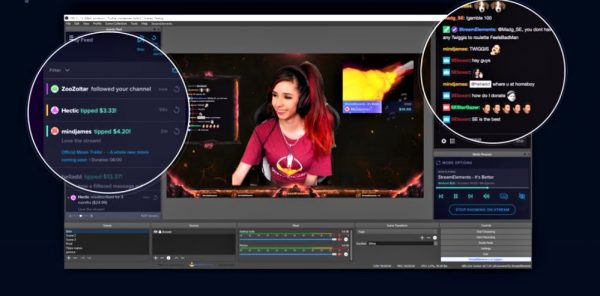
OBS Live won’t be useful at all if you’re not using a DSLR for streaming. It’s only useful if you want to go live on Twitch. That being said, if you’re a live streamer, it’s an extremely useful tool. This app is a plugin for OBS Studio made by StreamElements. It allows you to view your activity feed, manage alerts, and refresh your overlays. It’s a great app for beginner and advanced streamers alike. OBS Live is similar to Twitch Studio, except it’s for OBS Studio. Instead of using Twitch Studio, you can see everything on OBS. What’s more, is this app is completely free to download alongside OBS Studio. Download Now!
Setting Everything Up
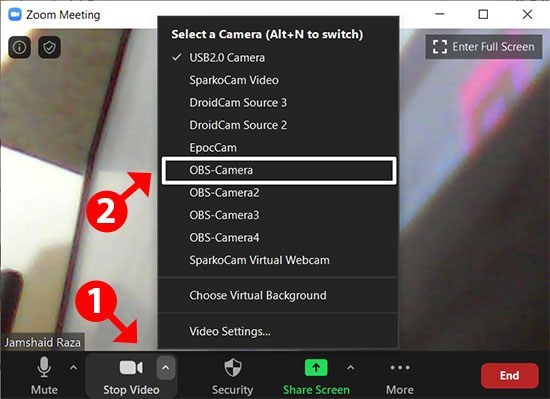
Now that you’ve got your equipment and software ready, it’s time to set up. The process can be a bit complex, but we’re here to guide you with the following step-by-step guide: First and foremost, you need to fix your camera angle. Affix your camera onto your tripod or whatever you have to support it. Position it at a comfortable angle and ensure that it’s stable. Next, connect an HDMI cable to your capture card and plug the capture card into your laptop or computer. Optional: Plug in your AC adapter to an available USB port. This is a good step to take if you plan on streaming for long hours or if you have multiple classes in a row. Lighting is important to ensure that you are visible in the recorded footage. Adjust the lighting in your room however you like to make it comfortable for both the viewer and yourself. If you don’t have good lighting, you can buy some lights online. In some cases, having a simple desk lamp is sufficient. Now you have to set up your DSLR camera and make OBS Studio recognize it. First, open OBS, and then click “+” under Sources. From here, add a new source and select “Video Capture Device.” Give your source a name after you create a new source. Make it a name you won’t forget because you’ll be selecting this every time you stream. Upon creating a new source, go to “device” and then it will show you a list of devices. Select your capture card. Upon choosing your capture card, your footage should display on your screen. Now, all you need to do is adjust your webcam size and resize it to your liking. If you’re streaming a game, you can resize it to the bottom right or left. Open your webcam in video mode and then connect your cables like before. Now, all you need to do is open Zoom. After that, turn on your video, and it will let you select which source will output your camera feed. Simply select your capture card’s name. Congratulations, you can now use your DSLR as webcam on Zoom!
Worth the Effort
If you want to use DSLR as webcam for live streaming or for Zoom calls, there’s a lot you need to do. There’s also a lot you need to prepare, but rest assured it’ll all be worth it. By doing this, you will get the highest quality of footage available to you.
